
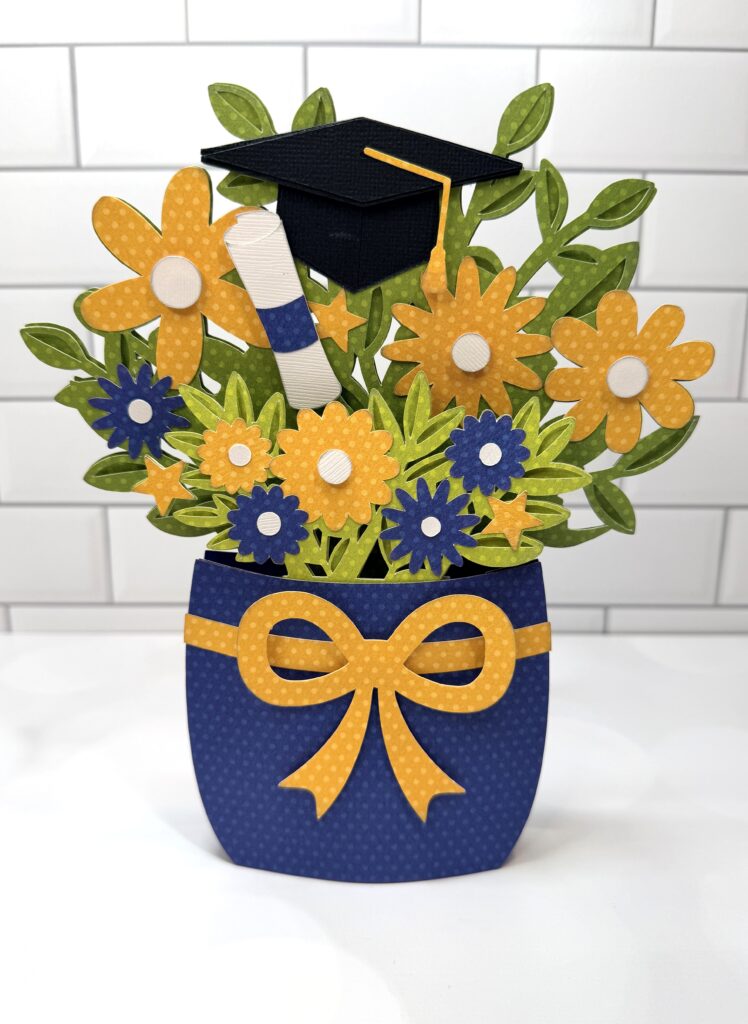
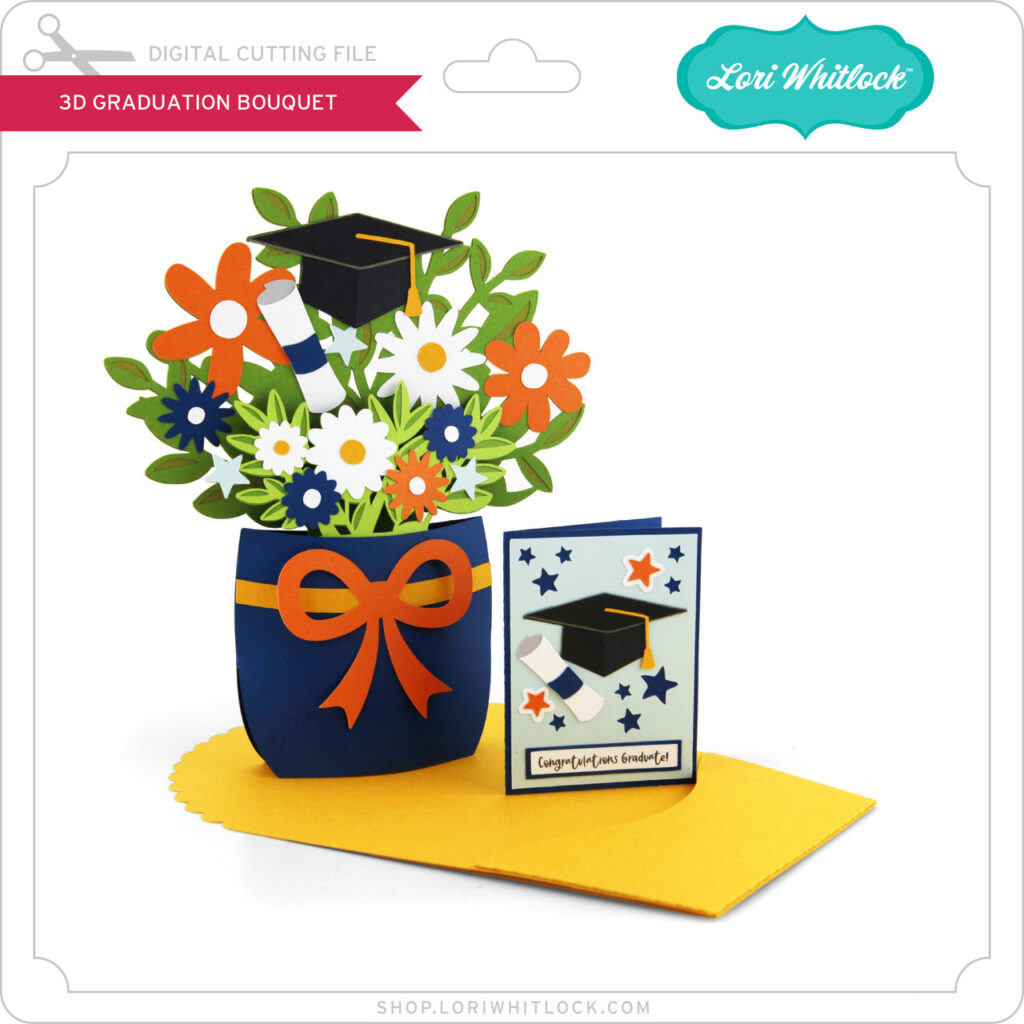
Hello, crafty friends! This is Lindsay, sharing a pop up card with you today. Father's Day is just around the corner. I wanted to work with one of Lori's newest files called "Rectangle Pop Up Card Sports Stand." I used an Echo Park paper collection, also designed by Lori, called "Dino Mite." The colors were perfect for this masculine card. You can find the file here: svg, silhouette.

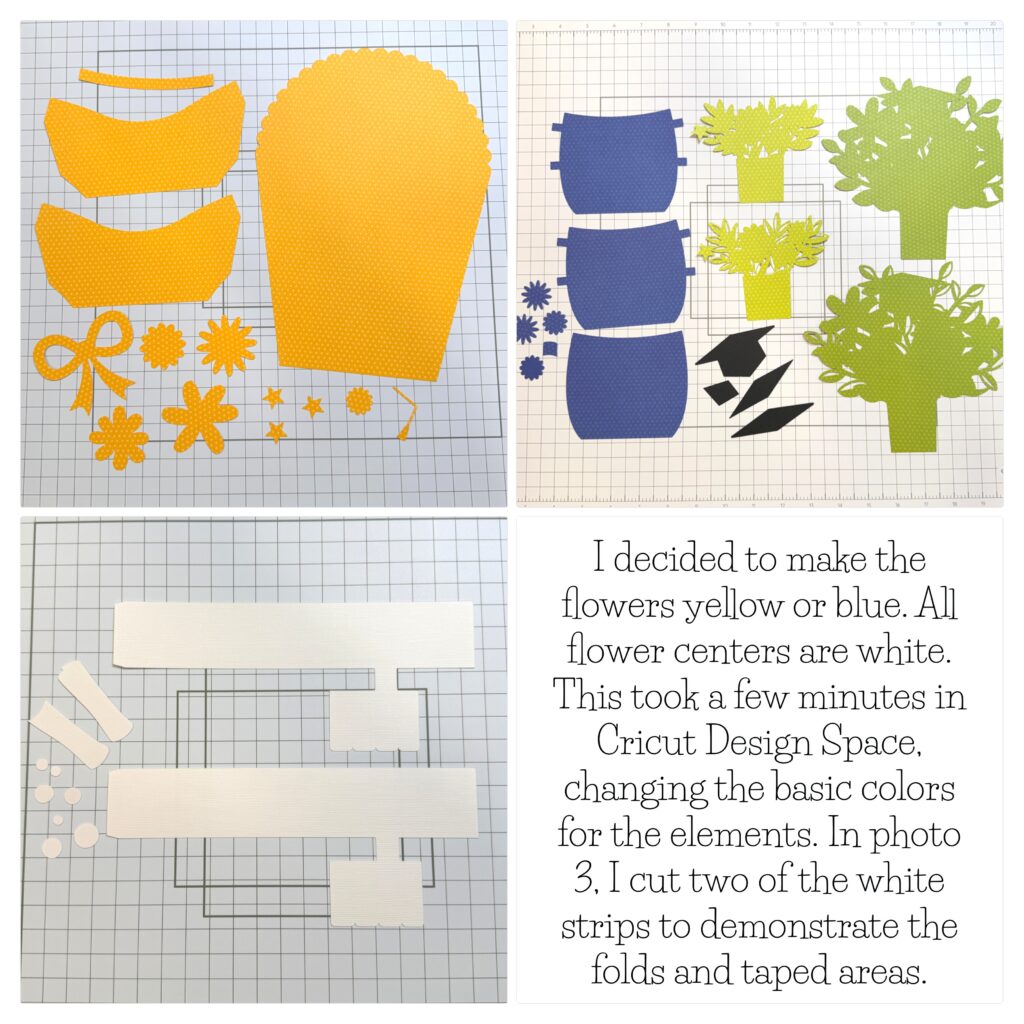
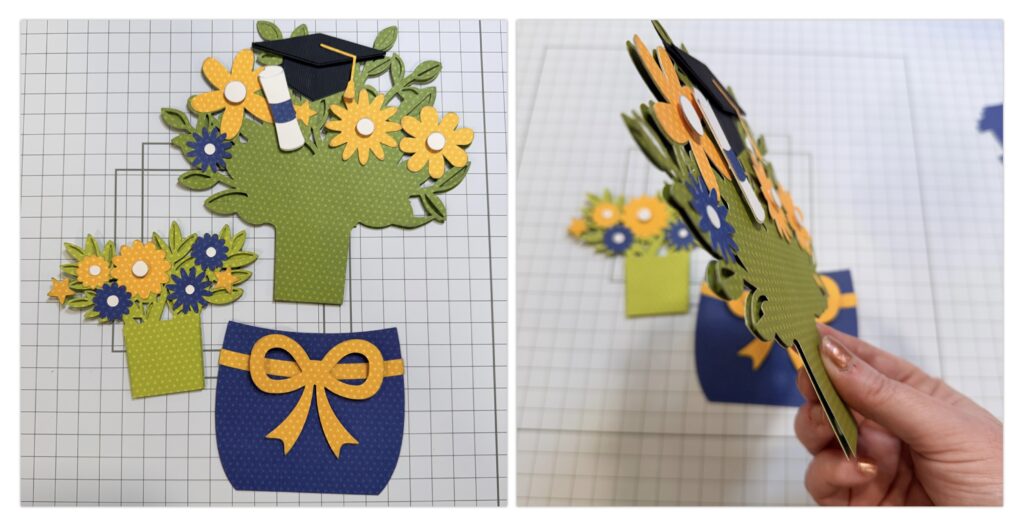
Begin by cutting all pieces you will need. I assembled each section of the card, as shown in photo 2. Next, I folded the large brown base pieces and adhered them back to back, as shown in photo 4.
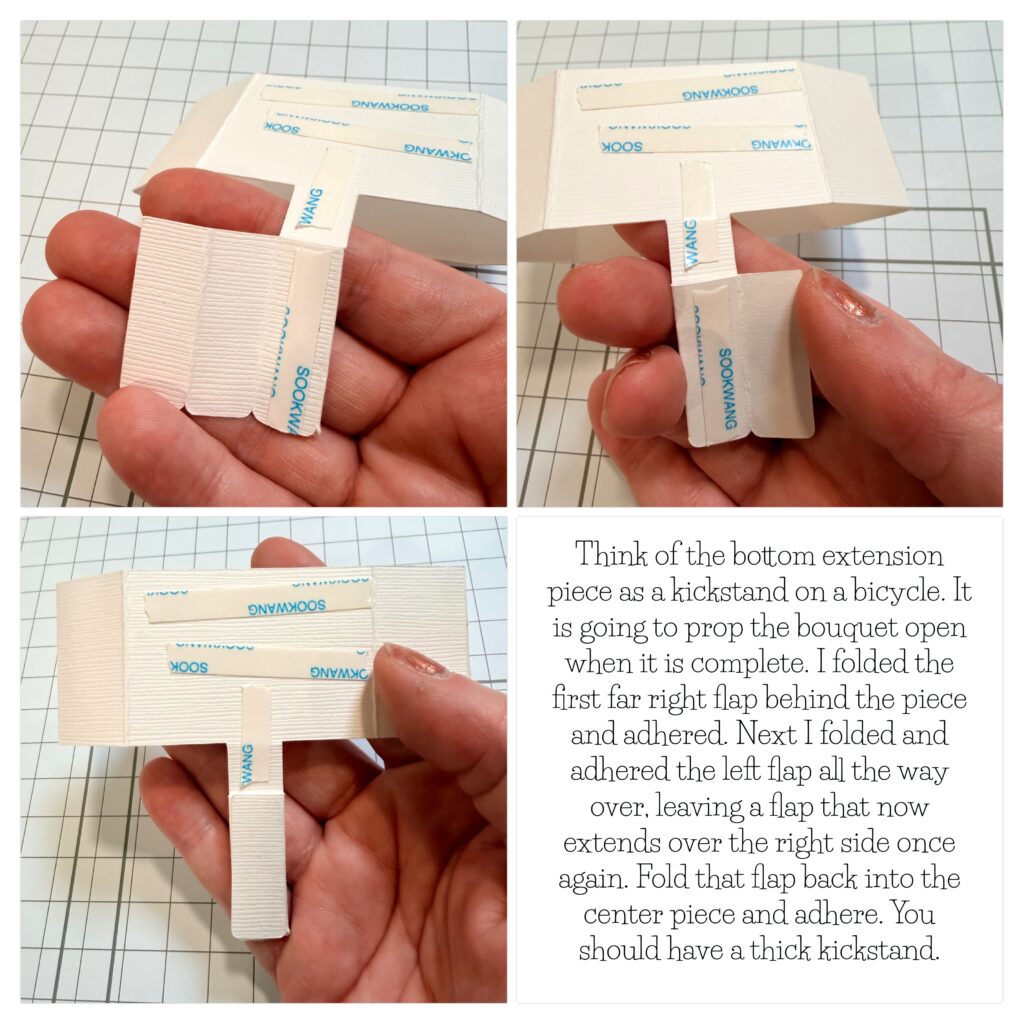
 The first photo (below) shows the brown pieces adhered back to back, with the top flaps folded outward. Turn the pieces over to the side with the slots. I inserted the large banner/drink piece into the middle slot (photo 2 below), placing strong tape on the back of the large flap. This is adhered directly to the middle divider inside the card. You will repeat this for the foam finger piece and popcorn piece, placing tape on the small folded flap. Slide it down and adhere to base piece.
After inserting all 3 pieces into the slots, it's time to close the base piece at the bottom with strong tape. Photo 4 shows a side image of the base once it has been sealed with strong tape.

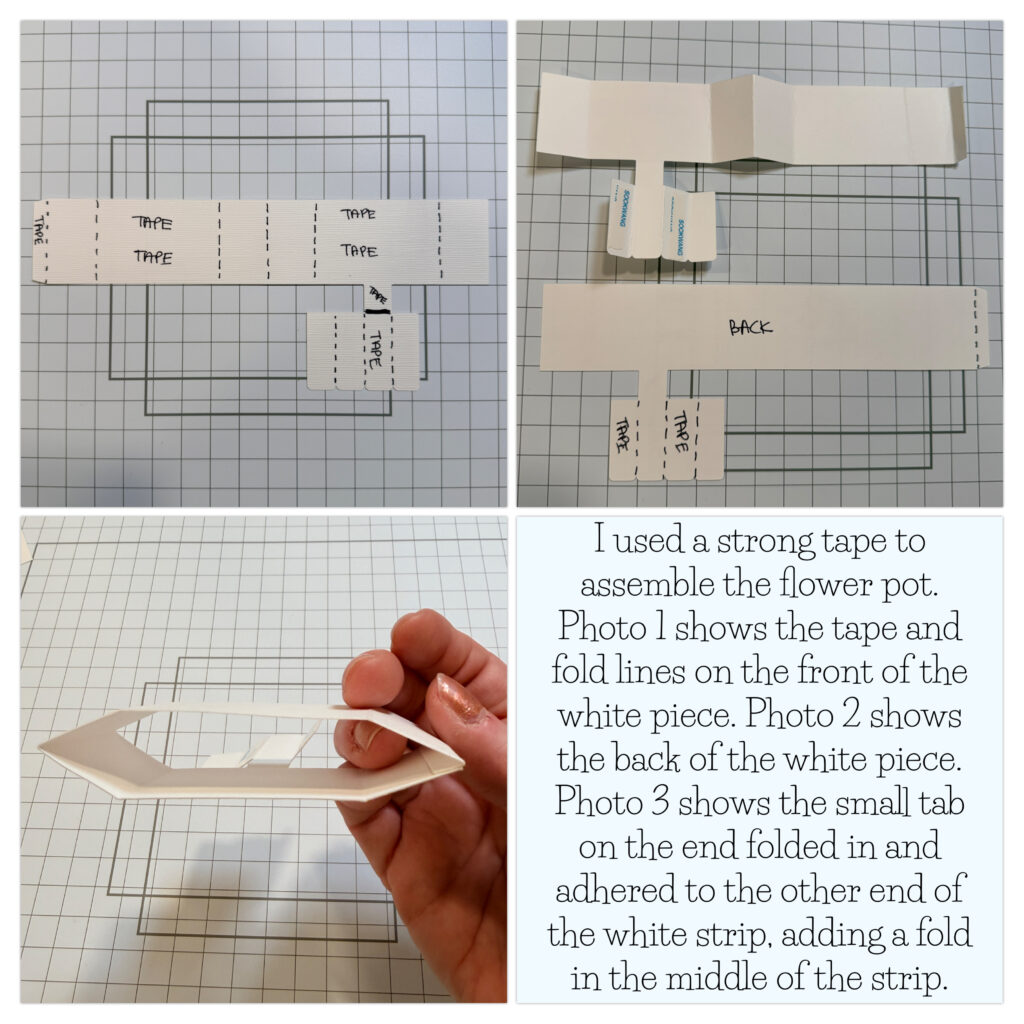
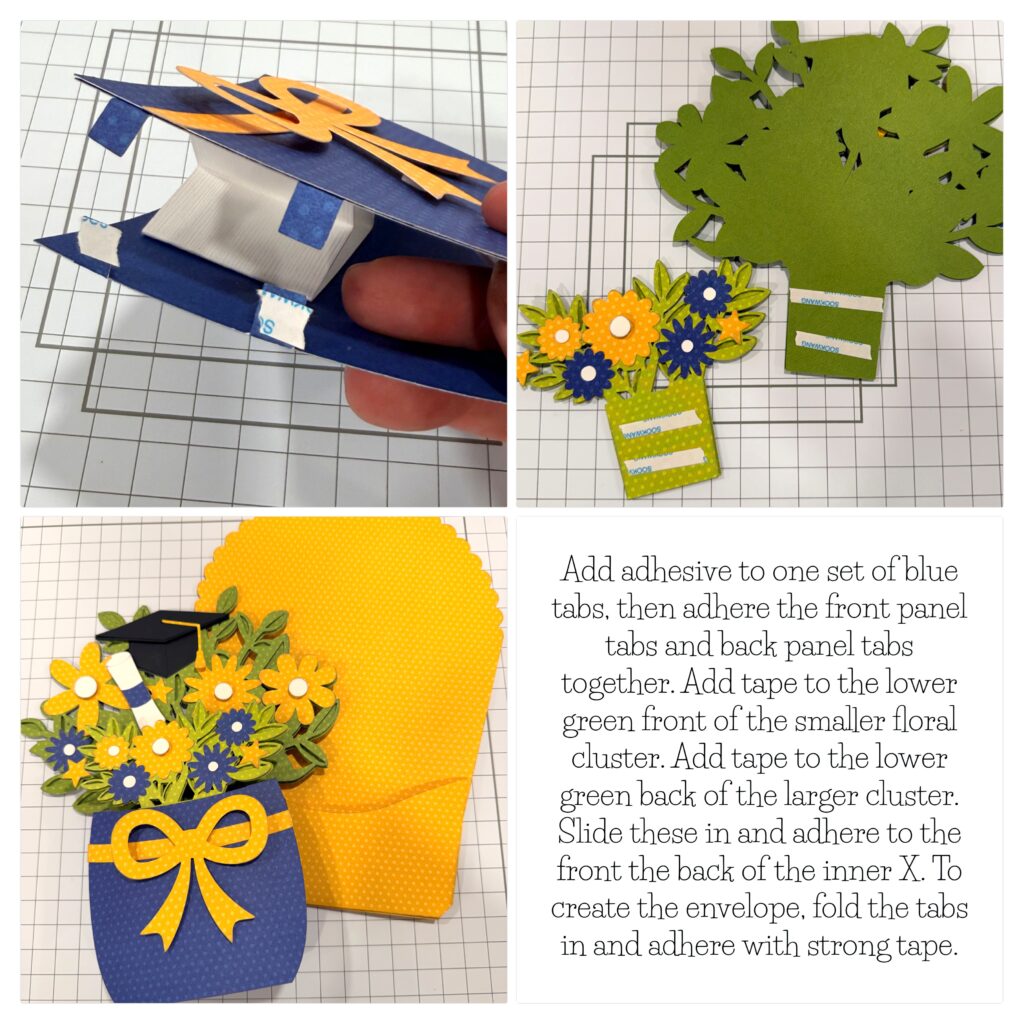
Now prepare the long belt piece by adding patterned paper and folding all score lines in the same direction. This piece will wrap around to form a box. Add adhesive to the small folded flap to complete the shape.

And now it all comes together! Slide the layered base piece into the completed belt piece. You will add adhesive to the upper middle part of the foam finger pieces and the back side of the popcorn piece. The area from the score line down to the small "feet" will extend below and should not have adhesive on it.

Once the base of the card is secured inside the belt, it's time to open up the piece and reveal the amazing 3d design! The "feet" should fit into the small cuts on either side of the belt piece.

I hope this inspires you to create a pop up card! They are incredible designs that fit together like a die cut puzzle. Click on the picture below, and it will take you right to the file on Lori’s site. Thanks for stopping by the blog today! — Lindsay


.jpg)
.jpg)
.jpg)
.jpg)


